12 EASY VOICE RECORDING TIPS TO MAKE YOUR RECORDING SOUND BETTER
The benefits of a good quality audio recording reach far and wide. It saves you time and effort post-production. This is especially more significant considering the rise of digital media today. Elements like clear narrations, engaging music, pleasant vocals can uplift the value of any clip.
We know how hard making a good audio recording at home might be. Your recording must be clear and without noise. No recording should get lost while you are editing. Background music, if any, should run smoothly. Balancing these various factors that go in to making a high quality audio recording can be tricky.
So here we present to you a curated list of 12 ultimate voice recording tips on how to make a good voice recording.
Sound-treat your environment
Recording in regular rooms cannot give you professional quality. This has something to do with the environment you are recording it. To do away with this, you must sound-treat your environment. This is the most useful voice recording tip that people often tend to ignore.
Most houses these days have cubical rooms. This is the worst place for voice recording. Sound waves hit and bounce off all the walls deteriorating the sound quality.
Carpet, furniture, non-parallel walls are helpful in reducing sound reflections. You can also opt for a smaller room as it is easier to sound-treat them. You can hang thick blankets on your walls. This will absorb sound and prevent it from bouncing off. This is the cheapest hack to sound-treat your recording environment. However, if your blankets are too thick, it will make your recording sound flat.
The more professional way of doing it is using acoustic foam on your walls. This will bring down sound reflection by a lot. It will prevent capturing outside noise in your recording too.
Cut external noise
An inevitable entity, especially while audio recording at home, is noise. Noise makes your audio lose clarity. As result, it is important to reduce noise to hear recorded voice clearly. Some common sources of noise are traffic, wind, animals, electrical and electrical appliances. To keep noise in check, you can shut windows, keep your pets out of the room and install a wind protector. You can also use towel or a sock instead of a wind protector.

While taking a breath, breathe lightly or tilt your head away from the microphone. This way you can avoid the recorder capturing your breath.
Invest in a good microphone
To enhance your voice recording quality, investing in a good microphone is important. Using the in-built microphones of cam recorders or laptops can ruin the audio quality. These microphones are not great at picking up all kinds of sound. Again, fancy condenser microphones work best in professional recording studios.
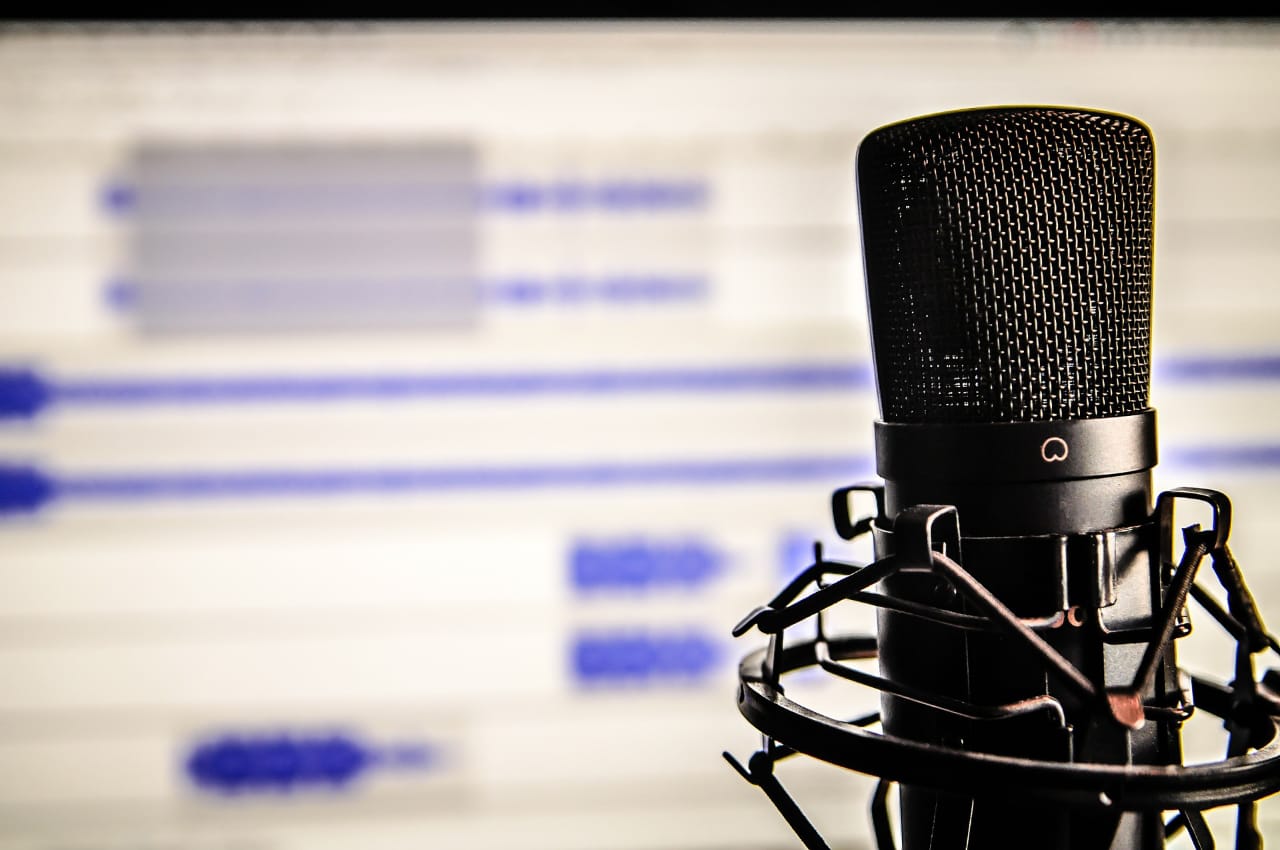
Thus, it is important for you to indulge time and research before selecting a microphone. It depends on your purpose, taste and target audience. Audio-Technica 2100 and RE20 are the most popular and versatile options right now.
Invest in a microphone stand
Unless it is very necessary to hold the microphone in your hands, avoid doing it. A very useful voice recording tip is to use microphone stand instead. This will contribute to make your recording sound better.

Invest in a pop filter
As the name suggests, a pop filter removes “pops” from your audio recording. While speaking near a microphone, air hitting it at high speed causes “plosives”. These are what appear as thuds and pops in the recording.
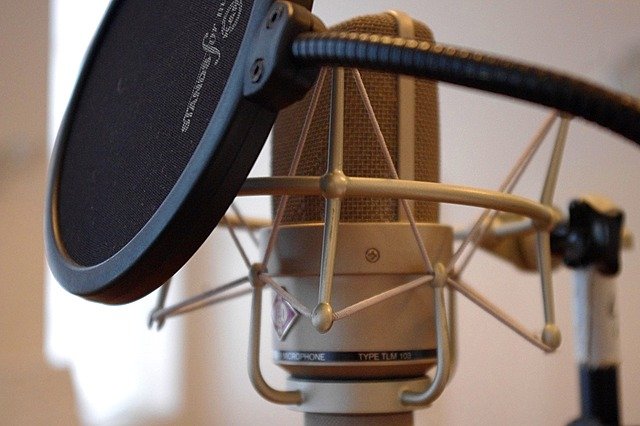
A pop filter is a mesh-like screen that around or in front of a microphone. It disperses the air and reduces their impact on the microphone. Thus they are essential to record your voice clearly.
Monitor your recording
One handy tip to make a good voice recording is to keep track of it. Use a headphone and listen to your recordings with attention. Look for distractions, buzzes and hums. Check the intensity of the sound. This way you can make sure all your recordings are up to the mark.
Pick an audio interface
Audio interface is a connector between your microphones, speakers and the system. It helps you format the audio without much complexity. It helps you escape the hassle of bulky mixing boards with many knobs and buttons. It also helps you improve audio quality of your recording.

Quite a few numbers of audio interfaces are available today. It is advisable to go through some reviews and then make a careful decision.
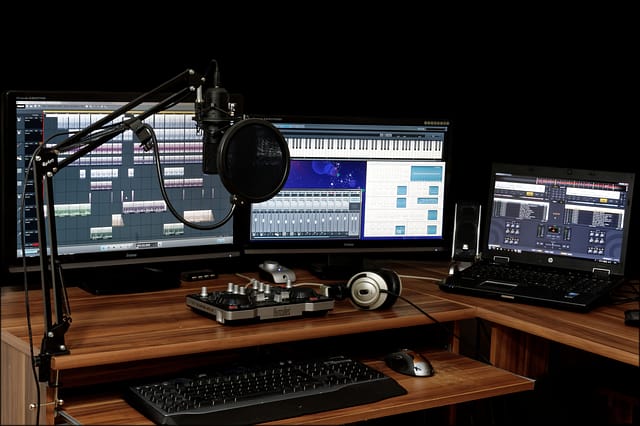
Pick a good software
The most valuable voice recording tip is to use versatile audio recorder software. They play an important role in both professional and amateur recordings. Most of them are available for free and can improve audio quality of a recording online with ease. Choose a software that is compatible with your device and fits your purpose best.
Some recorder softwares come with an extra editor tool too. This allows you to record and edit your audio clips in one go. They have a variety of tools to add effects and polish your recordings.
Choosing the best audio recording software can be tricky sometimes.
Adobe Audition is a one of the most advanced softwares out there. But it is quite high tech and expensive, making it is best for professional purposes.
For audio recording at home Free Sound Recorder is a good alternative. It comes with a free audio editor tool too.
Equalization and Panning
In a recording with instruments of many frequencies, it is easy to “lose” your vocals. Some microphones also have deeper low and grinding higher frequencies.
You can equalize these audio clips to get rid of this problem. Just chip away the different frequencies in other instruments. While increasing the frequencies, you can do so over a broader spectrum. If you’re going to take frequencies out, do so in a narrower range. This will allow you to retain the integrity of the human voice.
You can also pan instruments left or right. This will make space for the main vocal to come out with clarity. This will prevent your recording from sounding grungy.
Add Background Music post-editing
Adding music in the background to your audio while recording might seem like a good idea. It appears to save time later. But, if you cut and rearrange the clips later, audience will be able to hear awkward jumps in the music. This will result in a poor listening experience. If you want to add some music to your recording, do so once you have completely finished editing.
Record tracks separately
If your final outcome has more than one source, then record them separately. Using multiple tracks will allow you to make sure there is a separate recording for each voice. This will ease editing your clips.
If you are recording an online interview, you can use Zencastr. It runs in your web browser so you do not have to install anything. It will record and upload the best possible audio to your dropbox account on Zencastr.
Cleanfeed is another great tool that allows multitrack. It records in high quality WAV format and saves the tracks in a Zip file.
Be frank about your work
This is a voice recording tip that you should always keep in mind. After you have finished processing your recording, step away and take a break for a few hours. Then come back and listen to it.

Always pay attention to minor details while listening back to your final work. Do not ignore little things that might seem off to you. Make sure it fits all your criteria with perfection.
You might have already spent hours working on something. So it might sometimes seem hard to be honest to yourself about some flaws. But you must remember that it will ultimately make your work better.
However, make sure you not to go overboard with this. There must always be a balance.
These voice recording tips are the handy beginners guide to anyone getting started on audio recording. Following them will level up the quality of your work by a lot. However, the key to getting better at anything is experience. So, get started as soon as possible and don’t forget to keep practicing!